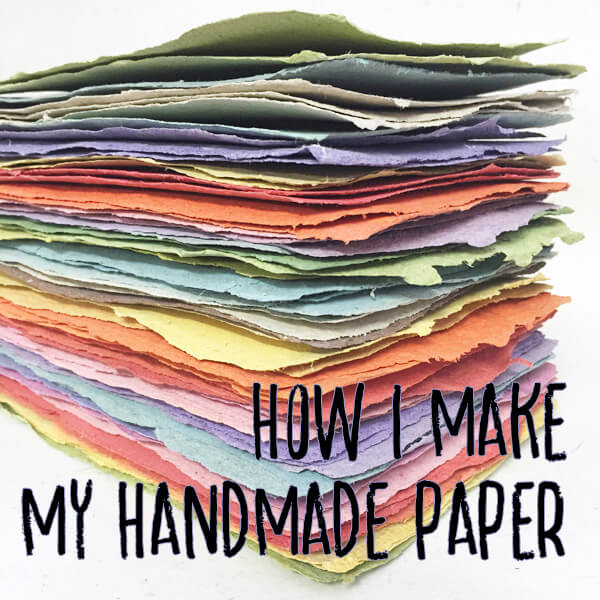
Have you ever wondered how I make handmade paper? I am often asked this question so today, I thought I would share my process with you.
I use a few different methods, depending on the sort of paper I want to create, but the process I share here is the one I use most often. It differs a little from the most common traditional dip-mould process you may have seen elsewhere - I use a special hand-pour mould instead. This method allows me to more accurately control the thickness of each paper sheet, and also means I can make several different coloured sheets in one session, with no wastage of unused paper pulp.
So here it is - step by step of how I make handmade paper:
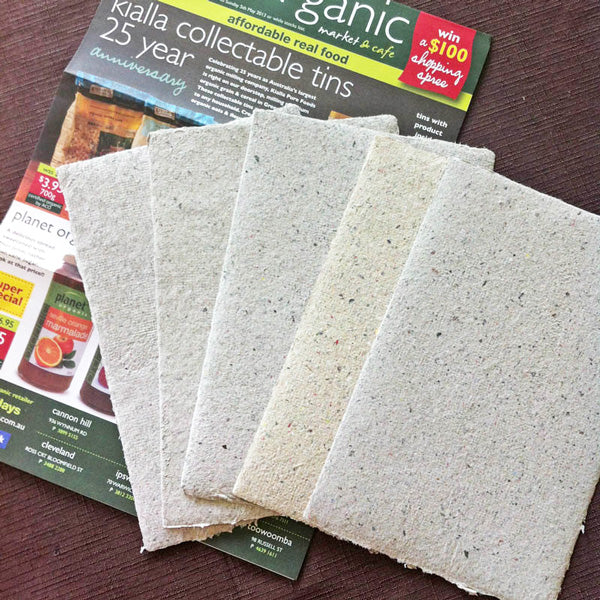
First, I start with some scrap paper such as these store brochures.
You can use almost any kind of paper to recycle. But avoid glossy paper such as magazines, or newspaper. Basically, anything printed on ordinary office-type matte paper is fine. You can also use tissue paper (I collect the party hats from our Christmas dinner bon-bons!), and even coloured envelopes.

I tear the scrap paper into small pieces, about the size of a postage stamp.
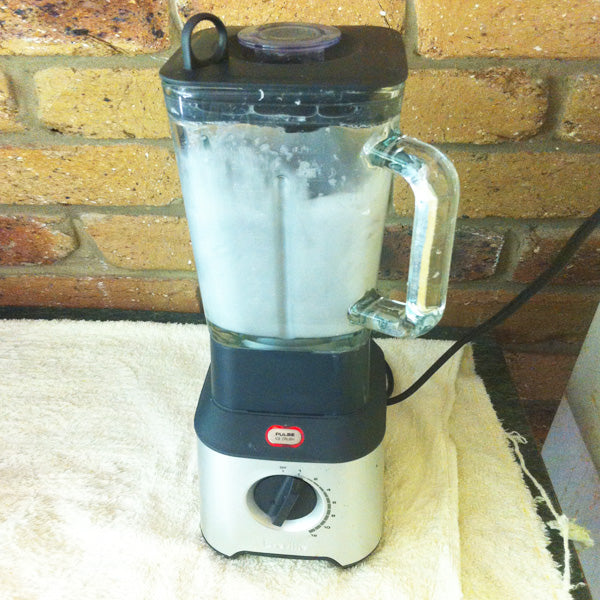
The pieces are then added to a blender along with a few cups of water.
I use the ordinary kind of blender you would use in your kitchen. Just remember to have a separate one dedicated for papermaking! It also helps if you are able to pull apart the blender for cleaning, or to remove fibres that may get caught in the blades. The first blender I tried years ago was a cheapie one and there was no way to remove the blades from the jug. I tried blending paper pulp that had some yarn fibres added to it, and promptly killed the blender when the fibres became entangled and I couldn't get them out. I then bought a good quality one which is still going strong after 5 years of mulching paper!

I blend the paper and water mix as required to achieve the desired consistency. The time required for this depends on the thickness of paper being used and how fine I want the finished paper to be, but is usually no more than about 30 or 40 seconds.
When the pulp is mixed sufficiently, I pour it into a special mould.
I have several different types of moulds for papermaking. The most common moulds you may have seen are dip moulds which are dipped into a big vat of pre-mixed paper pulp to collect some of the pulp to form a sheet. The mould I most commonly use is the one shown here. It is a pour mould. Instead of the mould being dipped into a vat full of paper pulp, smaller batches of pulp are poured directly into the mould. I prefer this method because it allows me to control exactly how much pulp goes into the mould for each sheet, which means I can control the thickness of the resulting sheet of paper. It also allows me to make several different coloured papers in one session, and I use the exact amount of pulp I need, so there is no wastage.

The mould is then lifted up and the excess water allowed to drain out, leaving the paper pulp behind

The timber frame (called the deckle) is removed, and fine mesh placed over the wet paper sheet. The sheet is then sponged to remove as much of the water as possible. This process is called "couching".
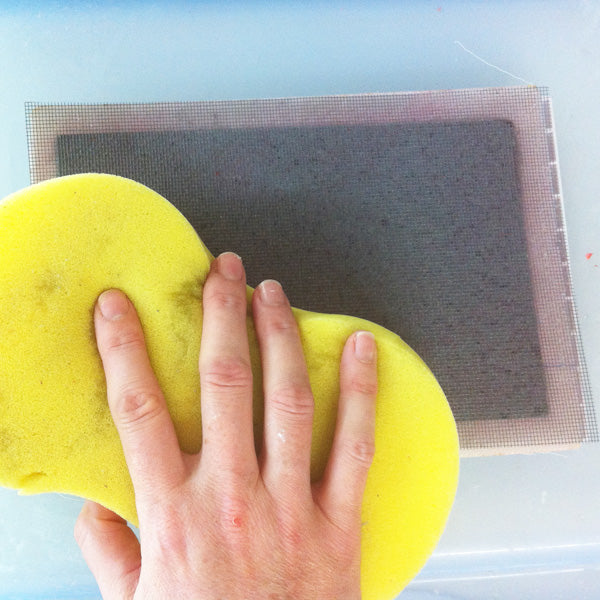
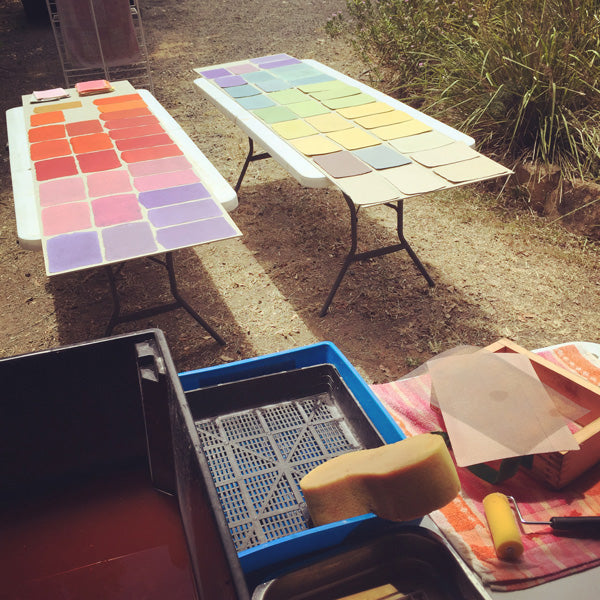
I also use special couching papers (similar to blotting paper) to help remove as much moisture as possible. The sheet of paper (which is still quite wet) is then transferred onto boards and placed in the sun to completely dry. I use boards made from the same material used to line the eaves of houses, as it helps draw the moisture away from the paper and speeds drying. When the paper is fully dry, it can easily be peeled away from the board.
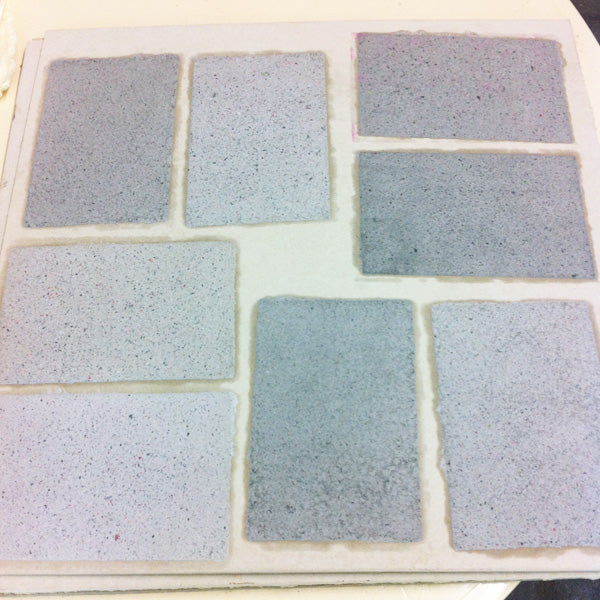
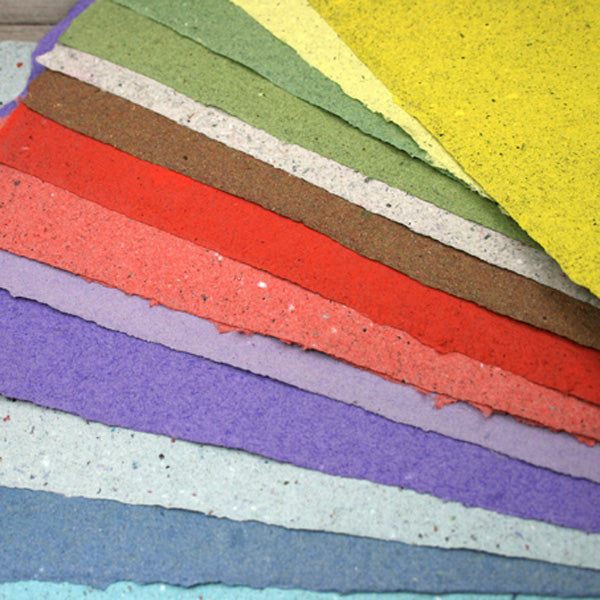
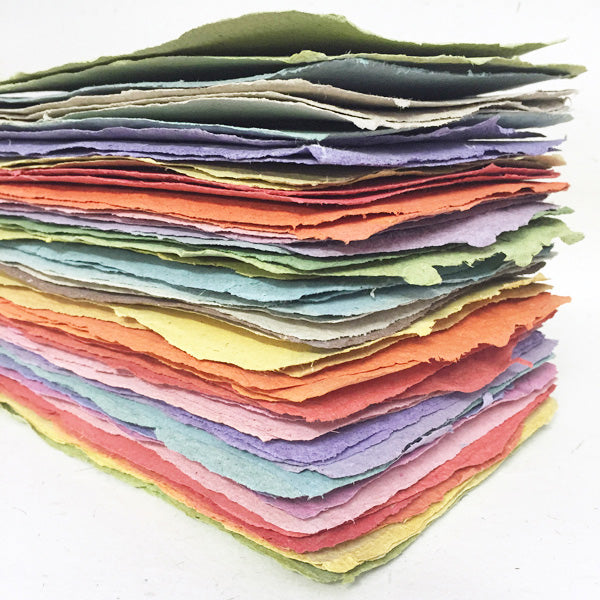
The end result is a beautifully textured sheet of handmade paper. I generally leave the finished sheets to cure for a few days to a week before they are ready to use.
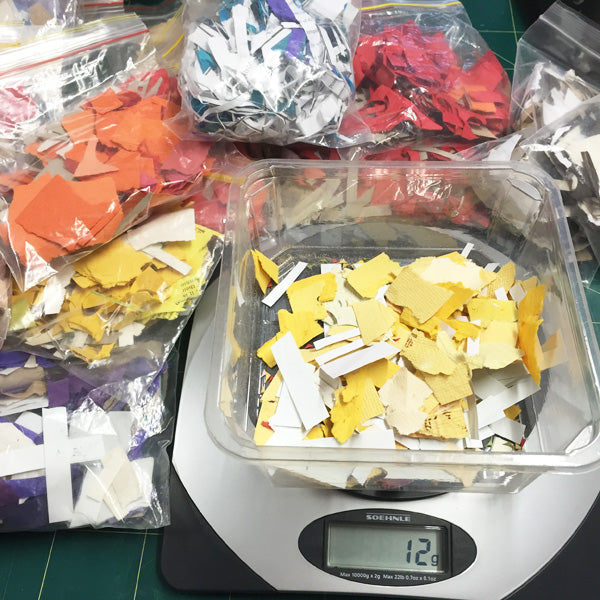
To make my coloured papers, I simply use scraps of paper in that colour. Coloured envelopes that come with greeting cards, school newsletters, or junk mail printed on coloured office paper are good sources of coloured paper scraps. Plus, whenever I make a book or other item, there are always small offcuts and scraps of paper produced, so rather than simply discarding them, I sort them into the different colours and keep them aside ready for my next paper-making session.
It's a time-consuming process, with a significant amount of preparation, and then cleaning up afterwards required, so I try to make many sheets at a time. And it's also weather dependent, as I work outside, and need a bright sunny day to ensure the sheets can be made and dried in time to bring inside before nightfall.
So there you have it - that is how I make handmade paper!
Although it is time-consuming, it is also very rewarding to be able to turn unwanted scraps into beautiful new sheets of paper. I love that it means that almost no paper is wasted in my studio. Even the scraps from these recycled sheets can be used again.
And I love that no two sheets of handmade paper are ever the same. Flecks of different colours, sometimes even visible remnants of letters and printing remain, and each sheet has its own unique character, which makes handmade paper even more special.